Animating fonts in Jetpack Compose
Jetpack compose offers many different animation helper functions. We can easily animate floats, colors, density-pixels, etc. These helper functions are usually called like this:
val animatedColor by animateColorAsState(
    targetValue = color,
    animationSpec = tween(durationMillis = 300, easing = LinearEasing)
)
The animateColorAsState function returns a state object and we can simply listen to this in our composable. We have to pass in a targetState. In this case, the targetState is the color we would like to animate to. We can also pass in an animationSpec that controls the timing and behavior of our animation. This part is optional and it defaults to the spring animationSpec.
In this article, we will create a helper function that we can use to easily animate between different TextStyles.
Lerp function
The key to setup our helper function is a lerp function. Put simply, a lerp function takes in two values, a start and end point, and animates between the two values based on a floating point number that goes from 0 to 1. With this function we can animate between the start and end point.
fun lerp(start: Int, end: Int, fraction: Float): Int
// lerp(0, 100, .71f) will return 71
Jetpack compose has a number of lerp functions, including one for TextStyle. It looks like this:
fun lerp(start: TextStyle, stop: TextStyle, fraction: Float): TextStyle
And can be used like so:
lerp(previousTextStyle, nextTextStyle, fraction)
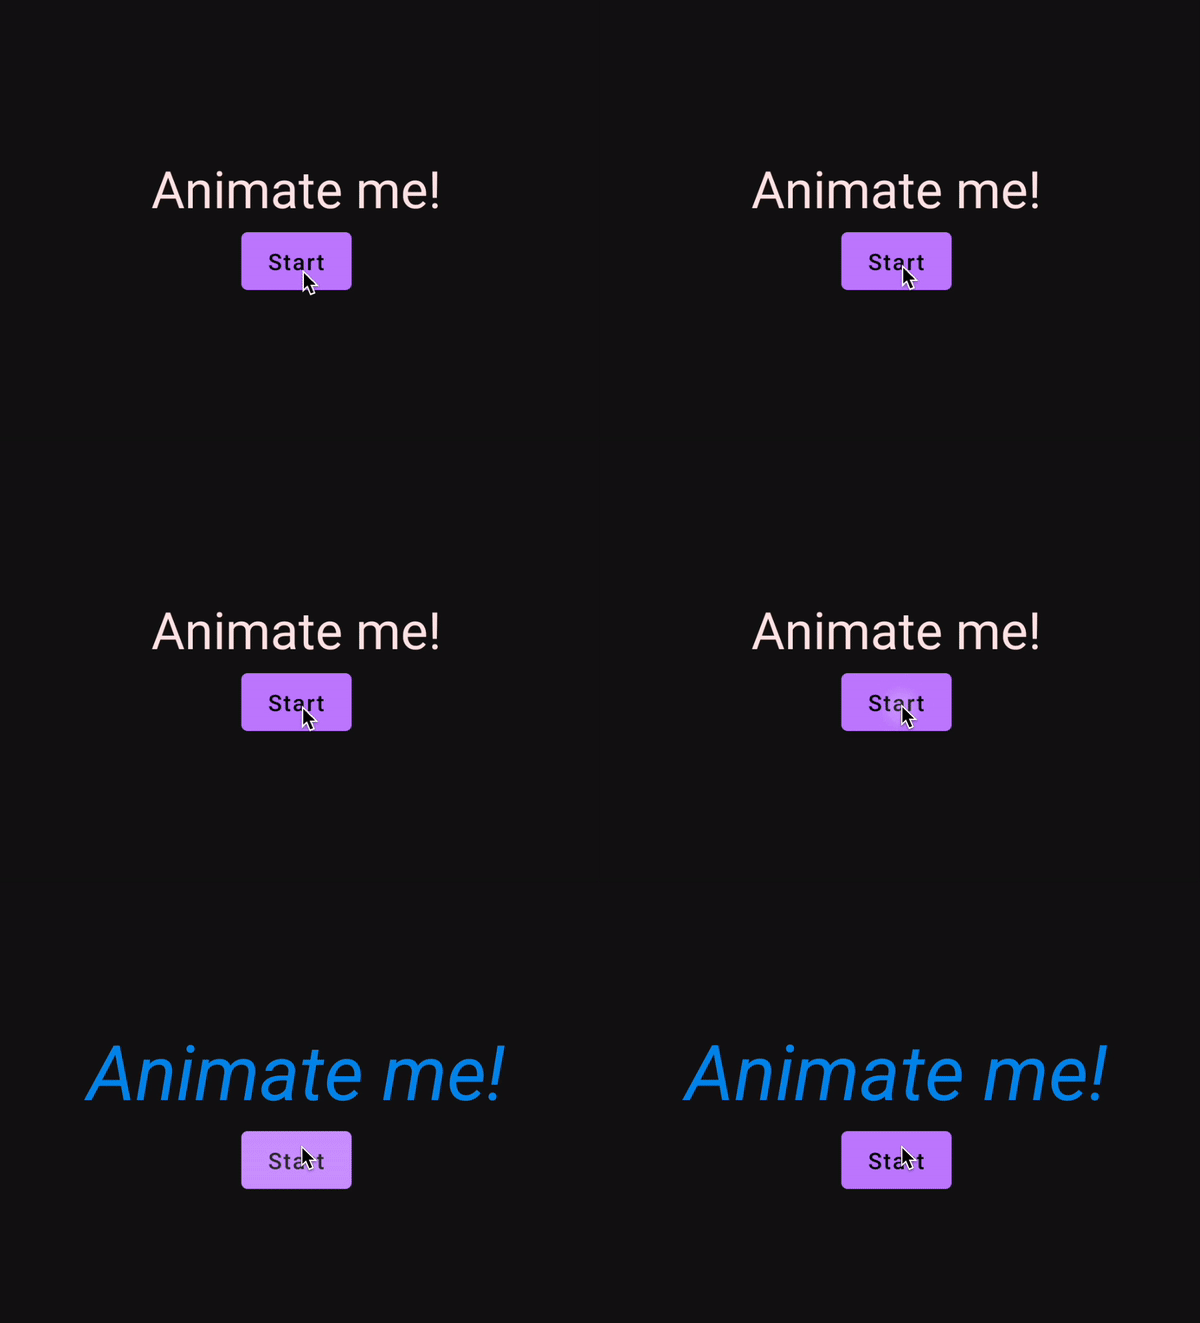
Using this function along with a float animation will already get us a cool text animation. We could write something like this:
val scope = rememberCoroutineScope()

// Setup animatable float to use in the lerp function
val animation = remember {
    Animatable(0f)
}

val h1 = MaterialTheme.typography.h1
val h2 = MaterialTheme.typography.h2

// derive the current TextStyle based on the animation position
val textStyle by remember(animation.value) {
    derivedStateOf {
        lerp(h1, h2, animation.value)
    }
}

Column(
    horizontalAlignment = Alignment.CenterHorizontally
) {

    Text(text = "Animate me!", style = textStyle)

    Button(onClick = {
	    // Animate on click
        scope.launch {
            animation.animateTo(1f, tween(500))
        }
    }) {
        Text(text = "Start")
    }
}

To use the lerp function, we need to setup a float animation from 0 to 1. We do this using Animatable. We also need to use the value from the float animation to get our current TextStyle.
This method provides us with a nice text animation, but we have created a lot of overhead just for one animation. An Animatable has to be manually created for every animation and the code will get even more complex as we add more animations.
Animate as state
The solution to this complexity is creating a function that will handle this for us, and give us some added flexibility. Earlier we saw an example of an "animate as as state" function. Now we will create our own that will be used like this:
val animatedTextStyle by animateTextStyleAsState(
    targetState = textStyle,
    animationSpec = tween(durationMillis = 300, easing = LinearEasing)
)
The animateTextStyleAsState function will handle creating the Animatable along with keeping track of the state of the current TextStyle.
Eventually, it returns a state object that we can listen to and use in our function.
@Composable
fun animateTextStyleAsState(
    targetValue: TextStyle,
    animationSpec: AnimationSpec<Float> = spring(),
    finishedListener: ((TextStyle) -> Unit)? = null
): State<TextStyle> {

    val animation = remember { Animatable(0f) }
    var previousTextStyle by remember { mutableStateOf(targetValue) }
    var nextTextStyle by remember { mutableStateOf(targetValue) }

    val textStyleState = remember(animation.value) {
        derivedStateOf {
            lerp(previousTextStyle, nextTextStyle, animation.value)
        }
    }

    LaunchedEffect(targetValue, animationSpec) {
        previousTextStyle = textStyleState.value
        nextTextStyle = targetValue
        animation.snapTo(0f)
        animation.animateTo(1f, animationSpec)
        finishedListener?.invoke(textStyleState.value)
    }

    return textStyleState
}
The function takes in similar arguments as the default Jetpack Compose functions but of course we could extend this with other custom elements. We have the targetValue that defines the text style we would like to animate to. animationSpec for specifying the desired animation. And also a finishedListener, just in case we would like to be notified whenever an animation completes.
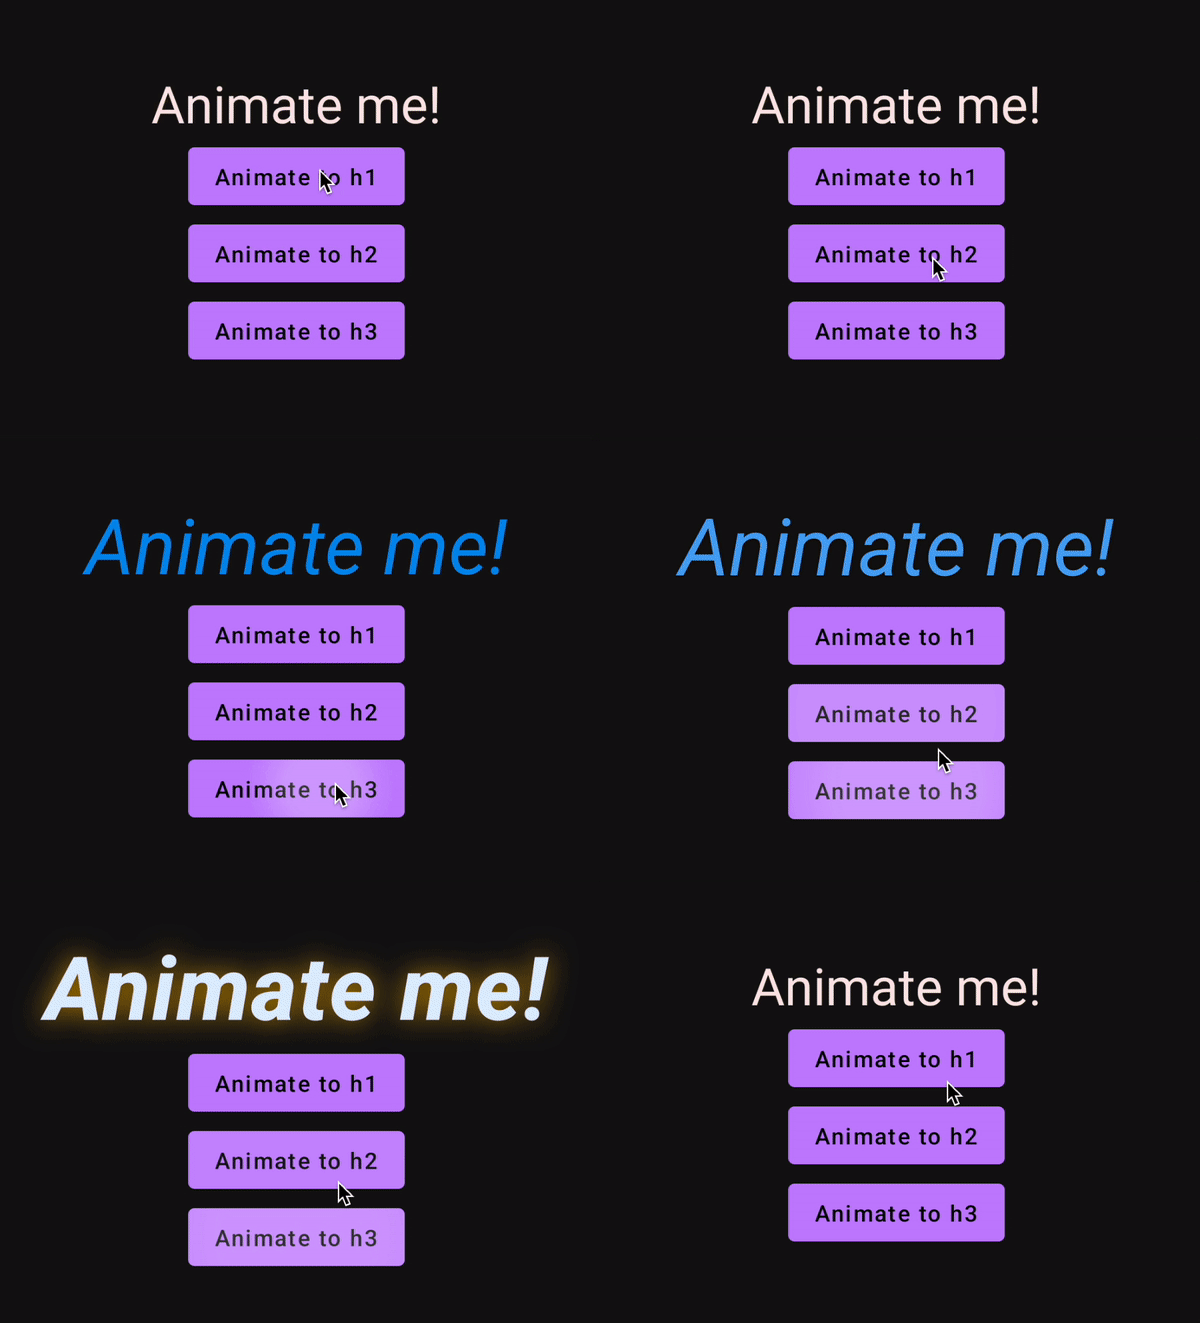
Using this function, we can make a slightly more complex example that animates between more text styles. On top of having more animations without added complexity, we also get interruptible animations. We don't need to worry about jarring animation changes.
val h1 = MaterialTheme.typography.h1
val h2 = MaterialTheme.typography.h2
val h3 = MaterialTheme.typography.h3

var textStyle by remember { mutableStateOf(h1) }
val animatedTextStyle by animateTextStyleAsState(
    targetValue = textStyle,
    spring(stiffness = Spring.StiffnessLow)
)

Column(
    horizontalAlignment = Alignment.CenterHorizontally
) {
    Text(text = "Animate me!", style = animatedTextStyle)

    Button(onClick = { textStyle = h1 }) { Text(text = "Animate to h1") }
    Button(onClick = { textStyle = h2 }) { Text(text = "Animate to h2") }
    Button(onClick = { textStyle = h3 }) { Text(text = "Animate to h3") }
}

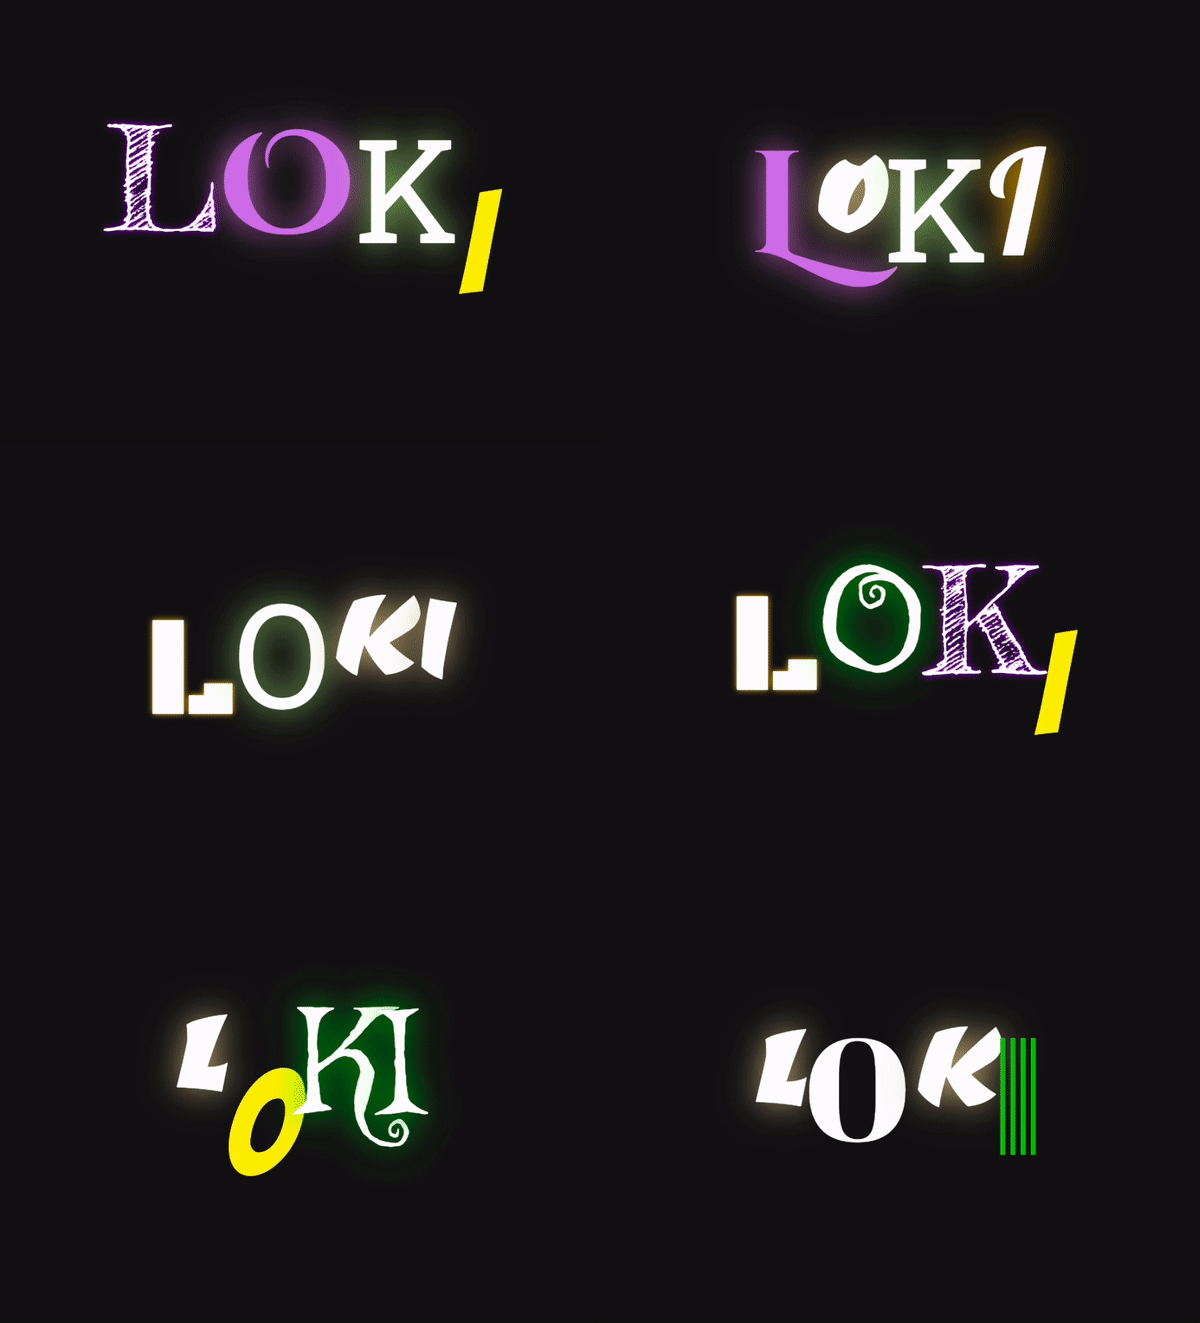
From here, we can even add more text styles and animate between them to make cool effects with ease. For example, animate between multiple random fonts while changing typefaces to recreate the "Loki" title sequence animation.

Making helper functions for animating elements in compose saves a lot of time and code. This is not only limited to colors and fonts. Let me know on twitter what you make with this.
Thanks for reading and good luck!
Subscribe for UI recipes
