Mesh Gradients in Jetpack Compose
Learn how to implement beautiful Mesh Gradients on Android

Recently, I launched a new Youtube channel with a video on mesh gradients. In it, I show how to use the drawVertices() function to create smooth gradients in Jetpack Compose. Check it out here.
Mesh gradient explainer video on YouTube
In this accompanying article, we will go over how to use the resulting compose modifier to create and animate your own gradients.
To follow along, grab the modifier code from here.
The modifier takes in points as an argument which is a 2d array containing our points and colors.
Every point is represented in 2d space using an Offset. These points will be responsive to the dimensions of the view we are applying the gradient. Therefore, the range 0f..1f will correspond to the bounds of our view. But in some designs, we can go beyond this and define a gradient that has points outside the view bounds.
Each point is paired up with a color.
Let's look at a code sample.
Box(
    Modifier
        .padding(32.dp)
        .size(600.dp)
        .meshGradient(
            points = listOf(
                listOf(
                    Offset(0f, 0f) to Teal950,
                    Offset(.5f, 0f) to Teal950,
                    Offset(1f, 0f) to Teal950,
                ),
                listOf(
                    Offset(0f, .5f) to Indigo700,
                    Offset(.5f, .5f) to Indigo700,
                    Offset(1f, .5f) to Indigo700,
                ),
                listOf(
                    Offset(0f, 1f) to Pink500,
                    Offset(.5f, 1f) to Pink500,
                    Offset(1f, 1f) to Pink500,
                ),
            ),
        )
)
Here, we are passing in a 3x3 grid where points in the same row are assigned to the same color.
If we run this, we will get a familiar vertical gradient, like this:

The result is not so special, since we can already make vertical gradients with much less code. Let's make it a little more interesting by moving the middle point down the y-axis.
...
listOf(
    Offset(0f, .5f) to Indigo700,
    Offset(.5f, .9f) to Indigo700,
    Offset(1f, .5f) to Indigo700,
),
...
Here, we moved the center-most point from .5f to .9f. Moving this point will make our gradient look like this:
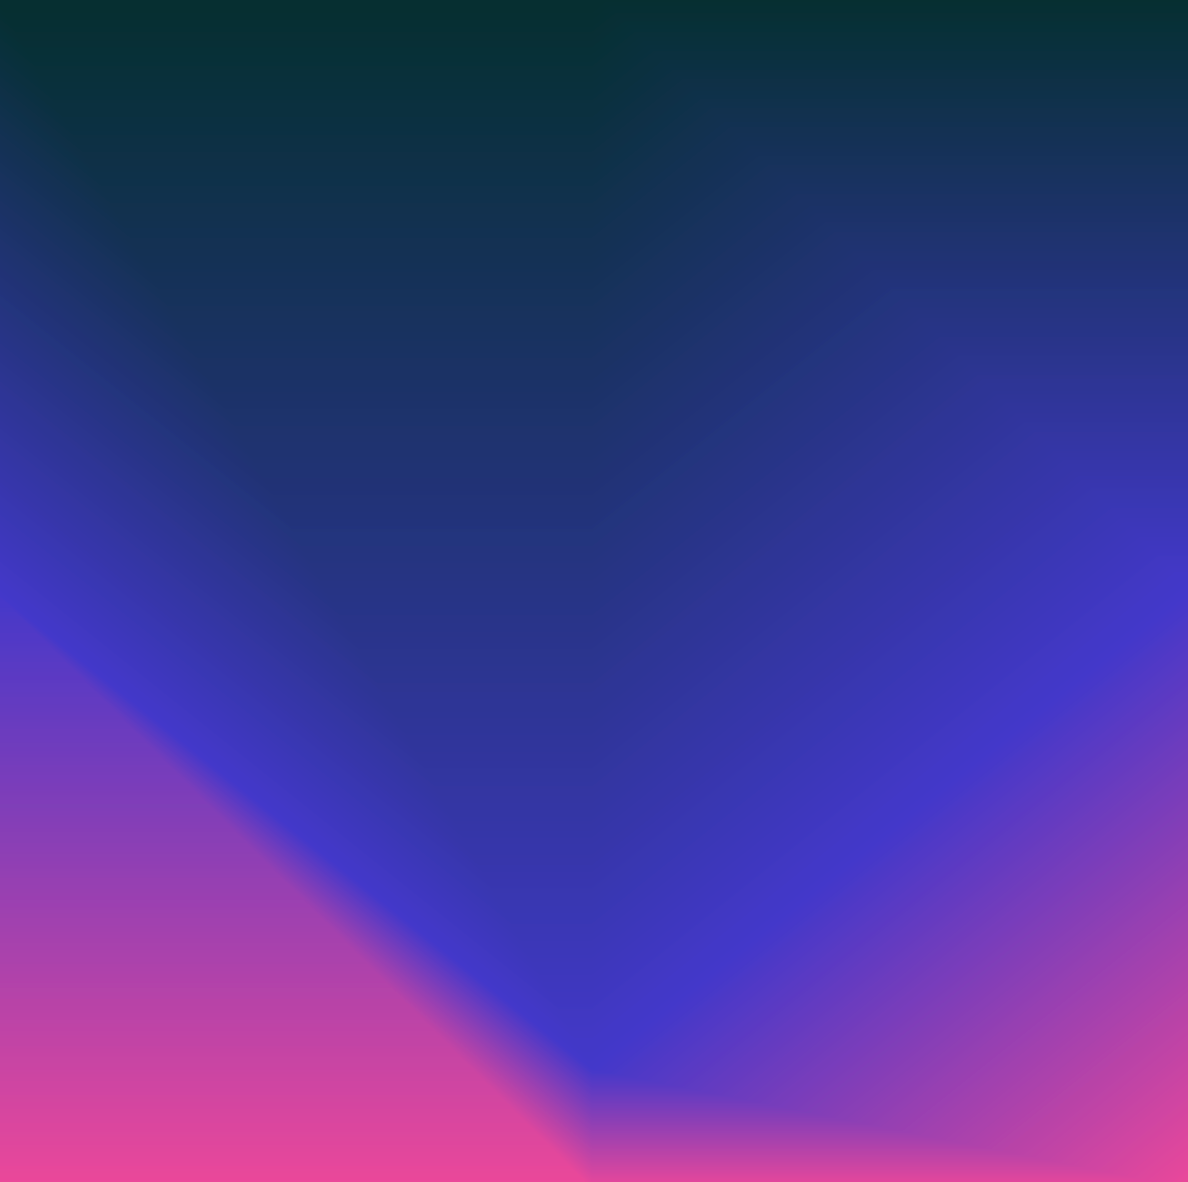
We have successfully moved the point, but now our gradient looks misaligned and a little "blocky", which does not look so pleasing. Instead, we would like a smoother transition between points.
To fix this, we will utilize two other arguments provided by the modifier, resolutionX and resolutionY.
The modifier is capable of taking the provided points, and creating a smooth path of transition between each one. These two arguments define how many points to sample on this path.
Try to keep the resolution as low as possible, while still maintaining your desired design. Using high numbers for the resolution will result in performance loss.
Also, the resolution is separated by axis, giving you more control for the best performance. This is because some designs might need a high resolution in one axis, but not the other.
For example, in our case, we need to increase the resolution for only the X-axis, since we are displacing a horizontal line. Therefore, let's set resolutionX at 32, and leave resolutionY at the default.
...
.meshGradient(
    points = listOf(
        ...
    ),
    resolutionX = 32,
)
...
This will now give us a gradient with a sloping curve.
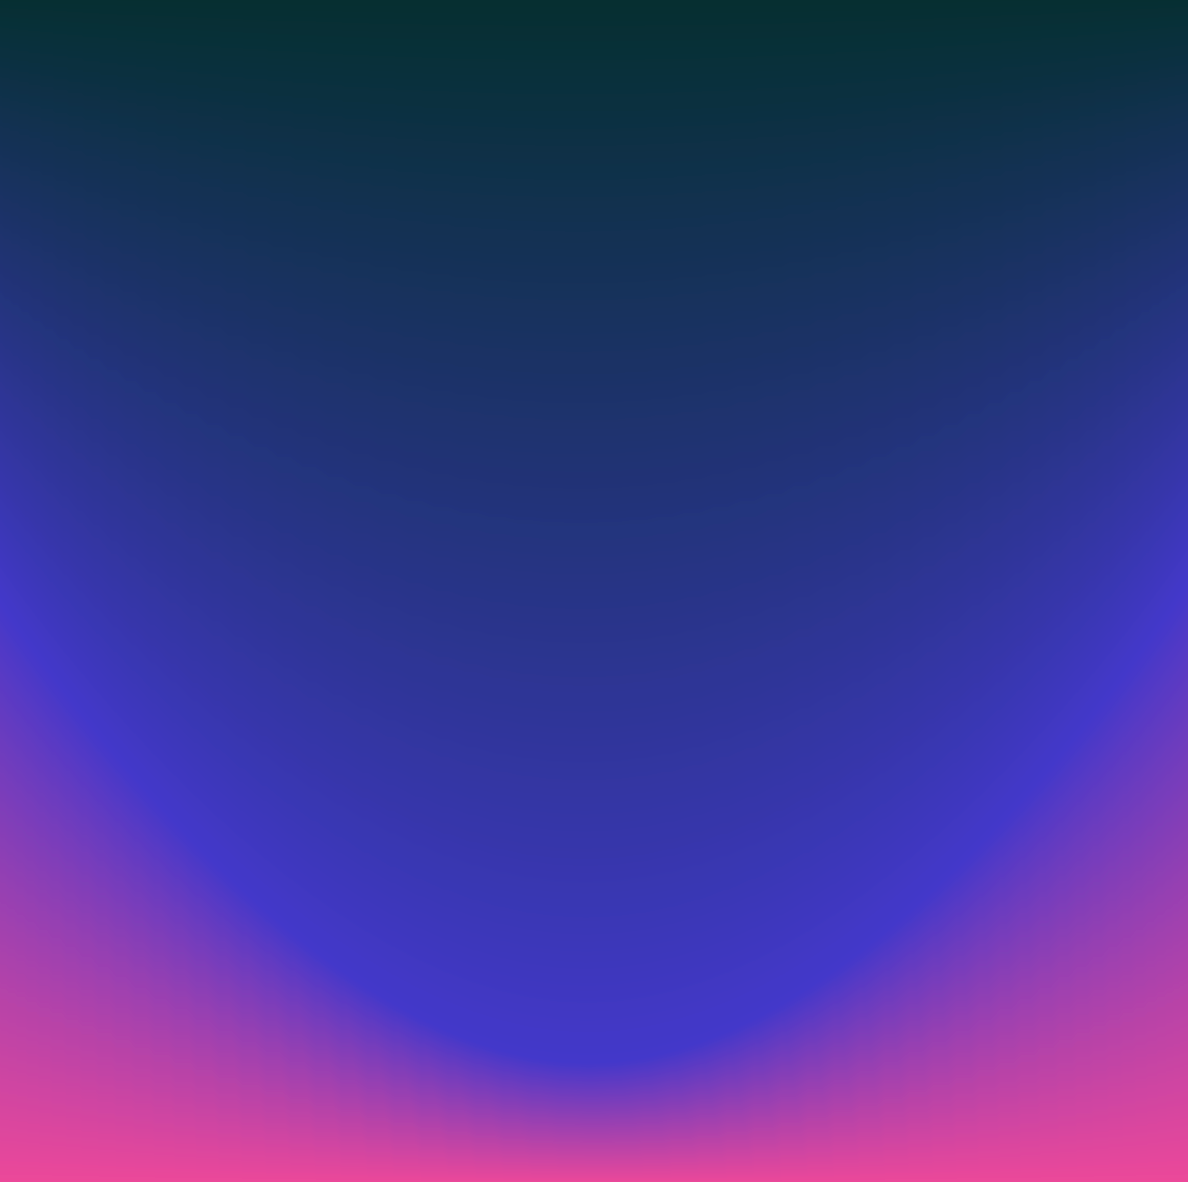
You can experiment with moving around the rest of the points to see what other interesting designs could be made.
Other than just setting the point location, we can also animate it.
This is done easily with the animation tools provided by Jetpack Compose.
In this case, I will use an Animatable to animate the center point along the y-axis.
val animatedPoint = remember { Animatable(.8f) }

LaunchedEffect(Unit) {
    while (true) {
        animatedPoint.animateTo(
            targetValue = .1f,
            animationSpec = spring(stiffness = Spring.StiffnessVeryLow)
        )
        animatedPoint.animateTo(
            targetValue = .9f,
            animationSpec = spring(stiffness = Spring.StiffnessVeryLow)
        )
    }
}
First, we create the Animatable with in initial value of .8f.
Next, inside a LaunchedEffect, we animate animatedPoint in a loop between .1f and .9f.
Finally, we just need to replace the y value of the center Offset with the float from animatedPoint
.meshGradient(
    points = listOf(
        listOf(
            Offset(0f, 0f) to Teal950,
            Offset(.5f, 0f) to Teal950,
            Offset(1f, 0f) to Teal950,
        ),
        listOf(
            Offset(0f, .5f) to Indigo700,
            Offset(.5f, animatedPoint.value) to Indigo700,
            Offset(1f, .5f) to Indigo700,
        ),
        listOf(
            Offset(0f, 1f) to Pink500,
            Offset(.5f, 1f) to Pink500,
            Offset(1f, 1f) to Pink500,
        ),
    ),
    resolutionX = 32,
)
This will animate our center point up and down, creating this animation for our gradient.
Mesh gradient with center point being animated up and down
Other than the points' locations, we can also animate their color. Let's create 3 more Animatables for each point on the bottom row.
val leftColor = remember { Animatable(initialValue = Pink500) }
val middleColor = remember { Animatable(initialValue = Pink500) }
val rightColor = remember { Animatable(initialValue = Pink500) }
LaunchedEffect(Unit) {
    val colors = listOf(Pink500, Violet600, Fuchsia400, Emerald500)
    fun animate(color: Animatable<Color, AnimationVector4D>) {
        launch {
            while (true) {
                color.animateTo(
                    targetValue = colors.random(),
                    animationSpec = tween(
                        durationMillis = Random.nextInt(300, 500)
                    )
                )
            }
        }
    }
    listOf(leftColor, middleColor, rightColor).map { animate(it) }
}
The initial value for all three will be the same bright pink from earlier. But inside the LaunchedEffect, we will loop through a random selection of colors.
To apply this, we simply replace the static colors with the values from these Animatables.
.meshGradient(
    points = listOf(
        listOf(
            Offset(0f, 0f) to Teal950,
            Offset(.5f, 0f) to Teal950,
            Offset(1f, 0f) to Teal950,
        ),
        listOf(
            Offset(0f, .5f) to Indigo700,
            Offset(.5f, animatedPoint.value) to Indigo700,
            Offset(1f, .5f) to Indigo700,
        ),
        listOf(
            Offset(0f, 1f) to leftColor.value,
            Offset(.5f, 1f) to middleColor.value,
            Offset(1f, 1f) to rightColor.value,
        ),
    ),
    resolutionX = 32,
    resolutionY = 32,
)
This will give us this animation:
Mesh gradient with bottom row of colors animating randomly
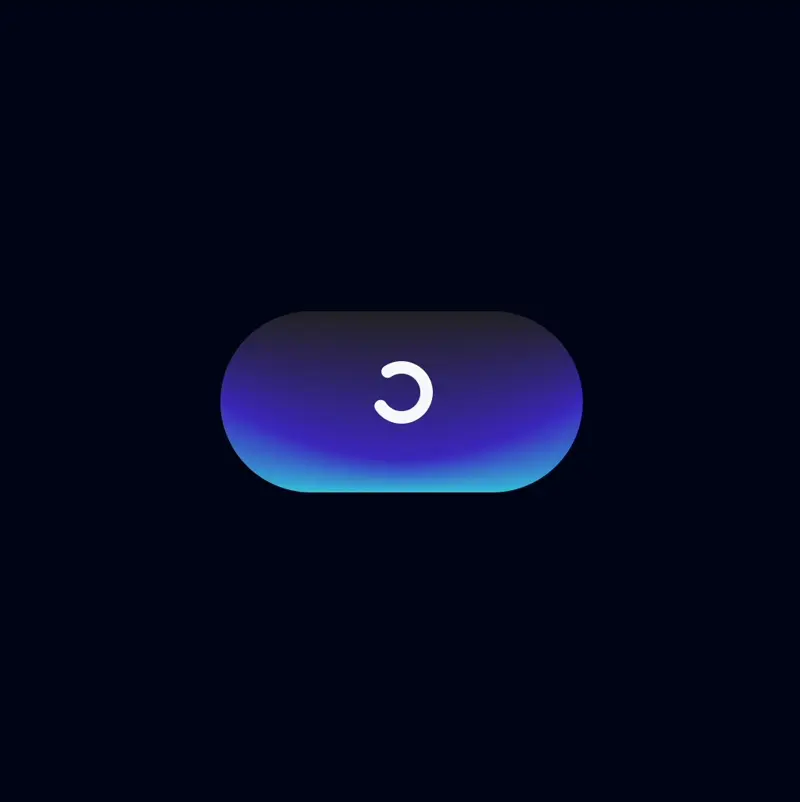
Now, that you know the basics of using this modifier, you may apply it many other use-cases than just a looping animation. For example, you can animate the points and colors to indicate a state change, like in this "log in" button:
Log in button example with a mesh gradient animating according to its state
Check out the code for this button, plus a live preview here:
If you get a chance to play around with the modifier, feel free to give me some feedback on it. In the near future, I am planning on creating a Multiplatform library that will contain this, plus many more features for tweaking the gradient.
Thanks for reading and good luck!
Subscribe for UI recipes